A common problem when creating a panorama is a curved horizon. See
the following example:

This can occur if the panorama was taken with the camera pointing
upwards or downwards, or if an anchor image was rotated during
optimization. Because the panorama is a projection of a sphere (the
world around the camera) onto a flat surface, tilting a panorama
results in this snake-like curve.
PTGui has a 'straighten panorama' function, which straightens the
panorama by just one click on this button: 
In most cases, this will work fine. If it fails, or somehow gives
unexpected results, here's how to straighten a panorama manually:
When straightening a panorama, the goal is to have the horizon of
the scene exactly in the middle of the panorama. This means that it
should match the horizontal line in the panorama editor. To achieve
this:
- Open the Panorama Editor
- Switch to Panorama Edit mode:

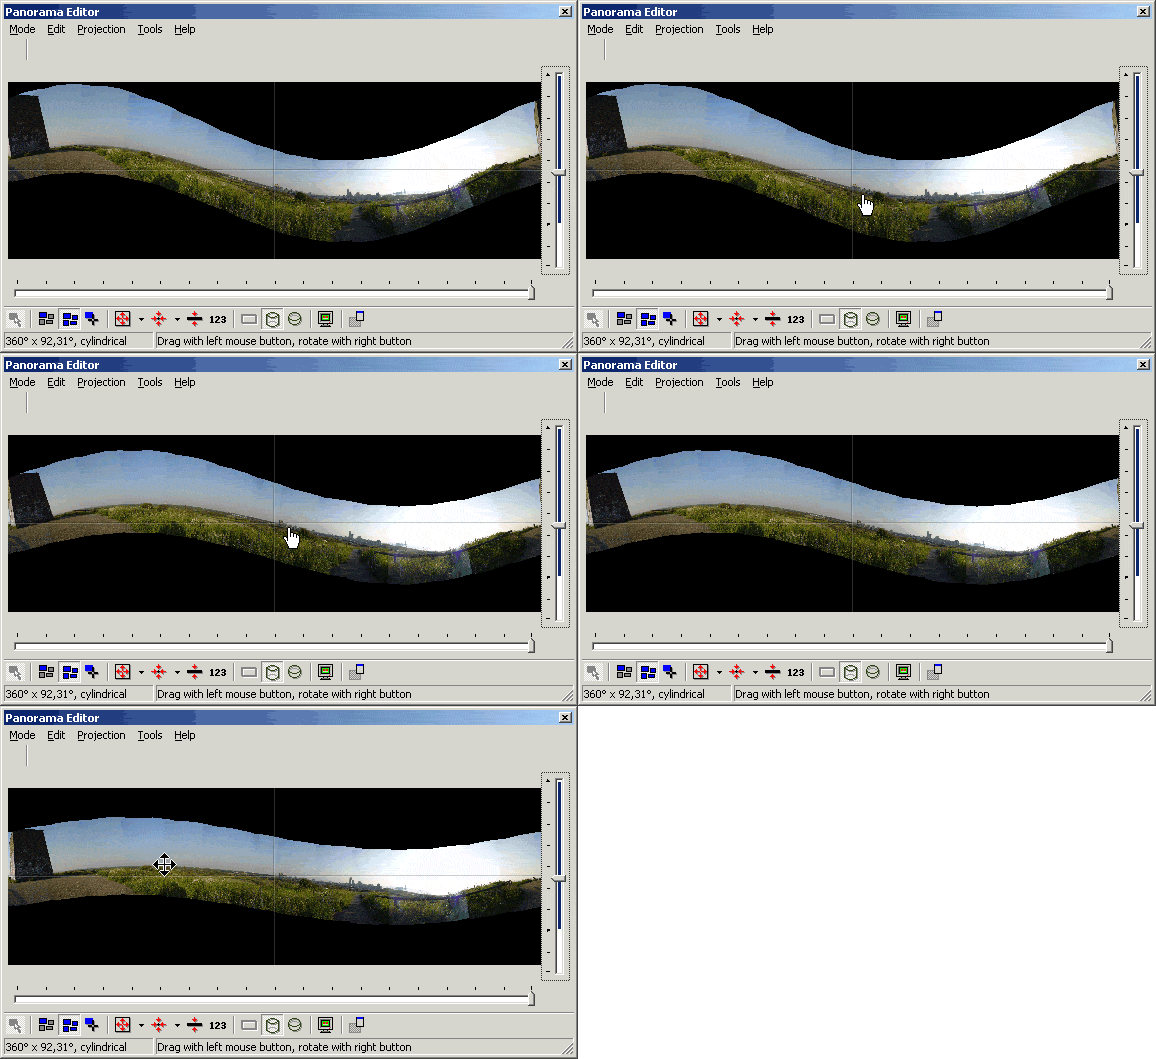
- Use the left mouse button to drag a point on the horizon into the center of the panorama editor (where the two lines cross)
- Use the right mouse button to drag another point on the horizon to the horizontal line in the editor. On a Mac with a one button mouse: hold down the Ctrl key while dragging the panorama.
Now the horizon of the scene should match the horizontal line in the
panorama editor.
The following animation shows the steps:
